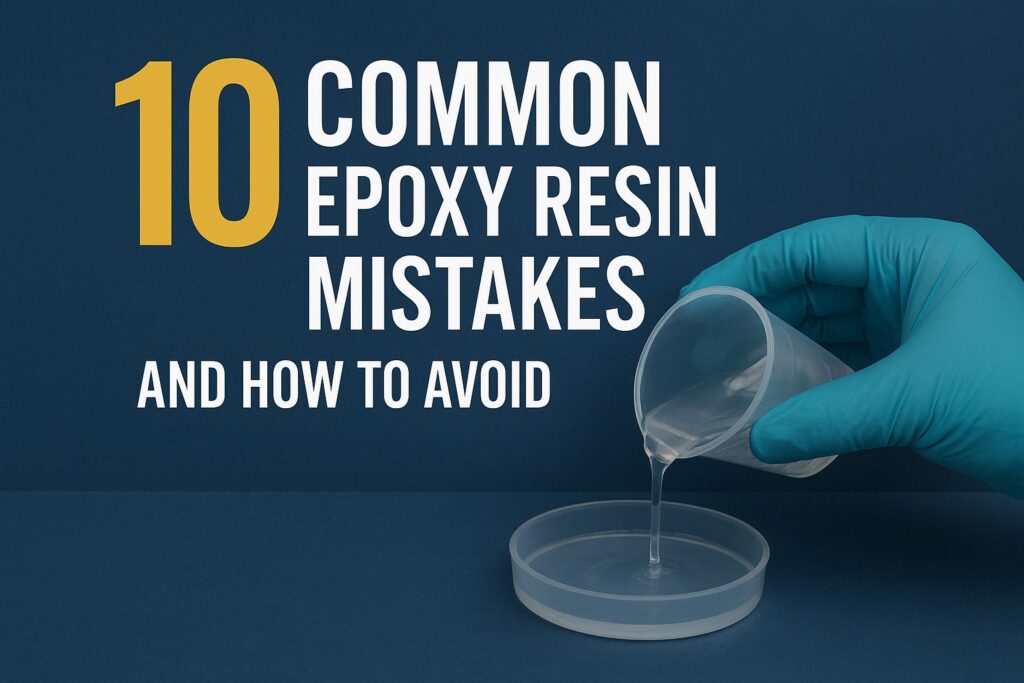
Working with epoxy resin can be incredibly rewarding, if you know what to avoid. Whether you’re creating a glossy tabletop, casting a stunning resin art piece, or sealing a handmade project, even a small mistake can waste time, materials, and effort.
At Resinate, we’ve helped thousands of DIYers, beginners, and artists across Canada achieve flawless results. In this guide, we’ll share the 10 most common epoxy resin mistakes and give you clear, practical tips to avoid them,so your next project turns out perfect.

1. Using the Wrong Type of Resin
Not all resins are the same. Choosing the right resin for your project is crucial to achieving the desired results.
Regular Epoxy Resin
Ideal for coating surfaces like wood, canvas, metal, and acrylic art. Perfect for creating beach scenes, tumblers, and coating art.
💡 Product Pick: Regular Epoxy Resin – Versatile for various applicationsUltraCast Resin
Designed for deep pours up to 2 inches at a time, casting, and art projects. Suitable for river tables, alphabet letters, jewelry, earrings, coasters, and use in molds.
💡 Product Pick: UltraCast Resin – Deep pour and casting made easyProfessional Resin
A fast-drying coating resin with a dry time of 4 hours. UV stable, making it great for outdoor projects like patio furniture and bar tops.
💡 Product Pick: Professional Resin – Quick cure for professional finishesCountertop Resin
Specifically formulated for laminates, wood, granite, and arborite. Offers durability and resistance to scratches, heat, and stains, making it ideal for kitchen and bathroom counters.
💡 Product Pick: Countertop Resin – Durable and heat-resistant
➡ Pro Tip: Select your resin based on the project. Check the product specifications to avoid issues like overheating or incomplete curing.
For a detailed comparison of these resins, visit our Resin Comparison Table.
2. Measuring Resin & Hardener Incorrectly
Too much hardener leads to brittleness, while too little leaves a tacky finish. “Eyeballing” measurements is a common mistake.
➡ Pro Tip: Use a digital scale or marked cups to measure precisely, a resin measuring pump, which dispenses precise amounts, helping you achieve accurate ratios with no waste and no mess.
💡 Product Pick: Resin Pump – Perfect Ratios every time
3. Not Mixing Thoroughly Enough
Improper mixing causes streaks, soft spots, or uneven curing.
➡ Pro Tip: Stir slowly and consistently for 3–5 minutes, scraping the sides and bottom. Using a silicone stir stick can make mixing easier and ensure you get every last bit of resin blended properly.
💡 Why We’re Different: Resinate resins are formulated for smooth, consistent mixing and reliable results.
💡 Product Pick: Silicone Stir Sticks – 3 Pack for Easy, Mess-Free Mixing
4. Pouring in the Wrong Conditions
Temperature and humidity have a huge impact on how epoxy resin cures. Pouring in a cold environment can slow the curing process, while high heat can cause the resin to overheat and create bubbles or uneven surfaces. Excessive humidity can lead to cloudiness or a tacky finish, ruining the appearance of your project.
➡ Pro Tip: Work in a well-ventilated space with a stable temperature between 21–25°C (70–77°F) and humidity below 60%. Avoid pouring resin near open windows, heaters, or air conditioners that could cause drafts or temperature fluctuations. Consider using a small space heater, dehumidifier, or climate-controlled room to maintain optimal conditions.
💡 Extra Tip: For larger pours or outdoor projects, check the weather forecast and ensure consistent indoor conditions to prevent curing issues.
5. Ignoring the Working Time
Every epoxy resin has a specific “pot life” the window of time you have to work with it before it begins to thicken and become unworkable. Exceeding this time can make the resin too viscous to spread evenly, trap air bubbles, or lead to uneven curing, which can ruin your project.
➡ Pro Tip: Always prepare your workspace and materials before mixing. Measure your resin and hardener, set up molds or surfaces, and have tools like stir sticks and gloves ready so you can work efficiently within the resin’s pot life.
💡 Extra Tip: For longer working times, consider using a resin formulated for extended pot life, like UltraCast Resin, especially for deep pours or intricate casting projects.
For a detailed comparison of all resin types, check out our Resin Comparison Table to find the best resin for your project and working time needs.
6. Skipping Surface Preparation
Proper surface preparation is critical for a flawless epoxy resin finish. Dust, grease, oils, or moisture on your surface can prevent the resin from bonding correctly, resulting in peeling, cloudiness, or uneven finishes. Even new or smooth surfaces like glass, acrylic, or sealed wood can have invisible residues that affect adhesion.
➡ Pro Tip: Before pouring, thoroughly clean your surface with a mild soap and water or isopropyl alcohol to remove dust and oils. For glossy or non-porous surfaces, lightly sand to create a slightly rough texture, which helps the resin adhere better. Make sure the surface is completely dry before pouring.
💡 Extra Tip: For projects like tabletops or counters, consider using painter’s tape to protect edges and create clean lines. This not only ensures proper adhesion but also gives a professional-looking finish.
7. Pouring Too Thick at Once
Pouring epoxy resin too thickly can cause several issues: the resin may overheat, crack, or remain soft in the center, especially in large or deep projects. This is because the chemical reaction generates heat, and thick layers trap it, which can compromise the finish and structural integrity of your piece.
➡ Pro Tip: For deep pours, it’s best to pour in multiple layers, allowing each layer to partially cure before adding the next. Alternatively, use a resin formulated for deep pours, like UltraCast Resin, which can handle layers up to 2 inches thick without overheating. Its formulation ensures a smooth, bubble-free finish, making it perfect for river tables, coasters, or thick art pieces.
💡 Product Pick: UltraCast Resin Bulk Pails – Deep Pour Resin for Layers up to 2 Inches
8. Forgetting to Remove Bubbles
Air bubbles are one of the most common issues in epoxy resin projects and can significantly affect the clarity and smoothness of your finish. Bubbles can form during mixing, pouring, or even from pouring too quickly, and if left untreated, they will harden in the resin, leaving an uneven or cloudy surface.
➡ Pro Tip: After pouring, gently pass a torch or heat gun over the surface to remove bubbles. Keep the heat source moving to prevent scorching or discoloration. For small bubbles trapped in intricate molds, you can also use a toothpick or silicone brush to carefully release them.
💡 Extra Tip: Mix slowly and scrape the sides and bottom of your mixing cup to minimize air incorporation. Using resins formulated for clarity, like Food Safe Epoxy Resin, helps ensure a crystal-clear finish for kitchen-safe projects.
9. Not Allowing Proper Cure Time
Rushing to demold or use your resin project before it has fully cured can lead to dents, sticky surfaces, or structural weakness. Even if the surface looks dry, the resin may still be soft underneath, which can compromise your project’s durability and finish.
➡ Pro Tip: Always follow the recommended cure time provided by the resin manufacturer. For most Resinate products, cure times vary depending on resin type, layer thickness, and environmental conditions. Patience is key allow each layer to fully harden before handling or applying subsequent layers.
💡 Extra Tip: In Canadian climates, temperature and humidity can affect curing. Resinate resins are formulated to cure predictably even in cooler or more humid conditions, but for best results, maintain a stable room temperature between 21–25°C and humidity below 60%. Using a small heater or dehumidifier can help if needed.
💡 Pro Tip for Tracking: Use a timer or note the start time when you pour to ensure you don’t accidentally rush the process.
10. Not Storing Resin Correctly
Improper storage can shorten your resin’s shelf life and affect its performance. Exposure to extreme temperatures, direct sunlight, or moisture can cause the resin to thicken, cure prematurely, or develop cloudiness, making it unusable for future projects.
➡ Pro Tip: Store resin in a cool, dry place with a consistent temperature, ideally between 15–25°C (59–77°F). Keep containers tightly sealed to prevent moisture from entering and avoid direct sunlight or heat sources that could degrade the resin.
💡 Extra Tip: For long-term storage, consider keeping smaller amounts in separate containers or clearly labeling opened products with the date to track freshness. We also offer different kit sizes to suit your project needs.
💡 Product Pick: Explore All Resinate Epoxy Resins – Regular, UltraCast, Professional, and Countertop Resins, available in multiple kit sizes
Final Thoughts
Avoiding these common epoxy resin mistakes will save you time, materials, and frustration while helping you achieve a flawless, professional finish every time.
Whether you’re coating, casting, or creating deep-pour art, choosing the right resin, following proper mixing and curing techniques, and using the right tools makes all the difference.
Ready to start your next project? Explore Resinate’s Canadian-made epoxy and UV resins, available in different kit sizes to suit your project needs.
Have questions or need guidance? Reach out to our team we’re happy to help you pick the right resin and tools for your project.